Guide
How to Apply and Activate SPCAF License in SPDocKit
Please refer to SPDocKit documentation to find out what version of SPCAF is available with the product.
Running SPCAF analysis of your SharePoint Framework project from SPDocKit allows you to stay productive and easily check if there are any issues with your project. If any issues are found you can quickly fix them.
Once you have installed the SPCAF plugin to SPDocKit, you will need to assign your SPCAF License and activate it within SPDockIt, to benefit from the full features from SPCAF.
Applying a License
To apply an SPCAF license to the SPDocKit plugin you will need to copy the License.lic to the SPCAF folder in the local app data folder (typically C:\Users\<user>\AppData\Local\SPCAF).
If the SPCAF folder does not exist, create it. For more details follow the details in the Knowledge Base article: How to Install SPCAF in SPDocKit.
Activating a License
Once the License.lic is in the corresponding folder, load up SPDockit, go to the “Content & Usage” section on the left, then “SPCAF Reports”. At this point, if you select any report you will be prompted with the following screen asking you to activate the license:
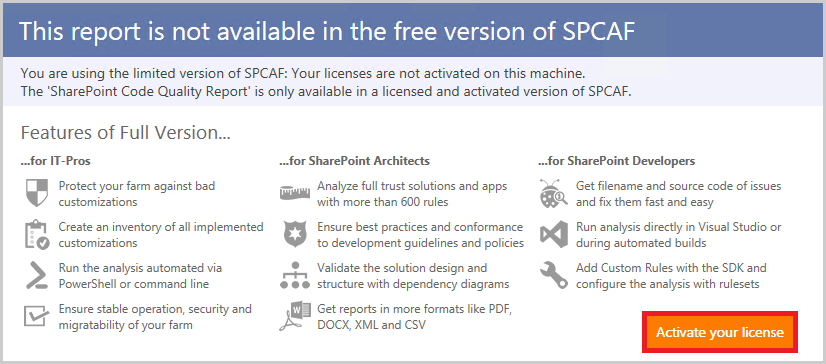
Click the “Activate your license” which will then provide a Challenge code that you need to copy, then go to activation.rencore.com and enter this code, your email address and your license. Once all parts have been entered click “Submit”.
After a short delay, you will get an email that contains the activation code and an activation.caf file. Copy the file to the same location as the license.lic from the previous step (typically C:\Users\<user>\AppData\Local\Rencore\SPCAF).