Guide
Install your License Key
To use SPCAF you will need to install an SPCAF license key, such as a trial key or a purchased license key. This key is a cryptic text that is usually delivered via email.
The following sections describe the different ways to install the license key depending on how you use SPCAF tools.
- Install license key via SPCAF client application
- Install license key via Visual Studio
- Install license manually in file system (advanced users)
- Install license for SPCAF Build license
Install license key via SPCAF client application
-
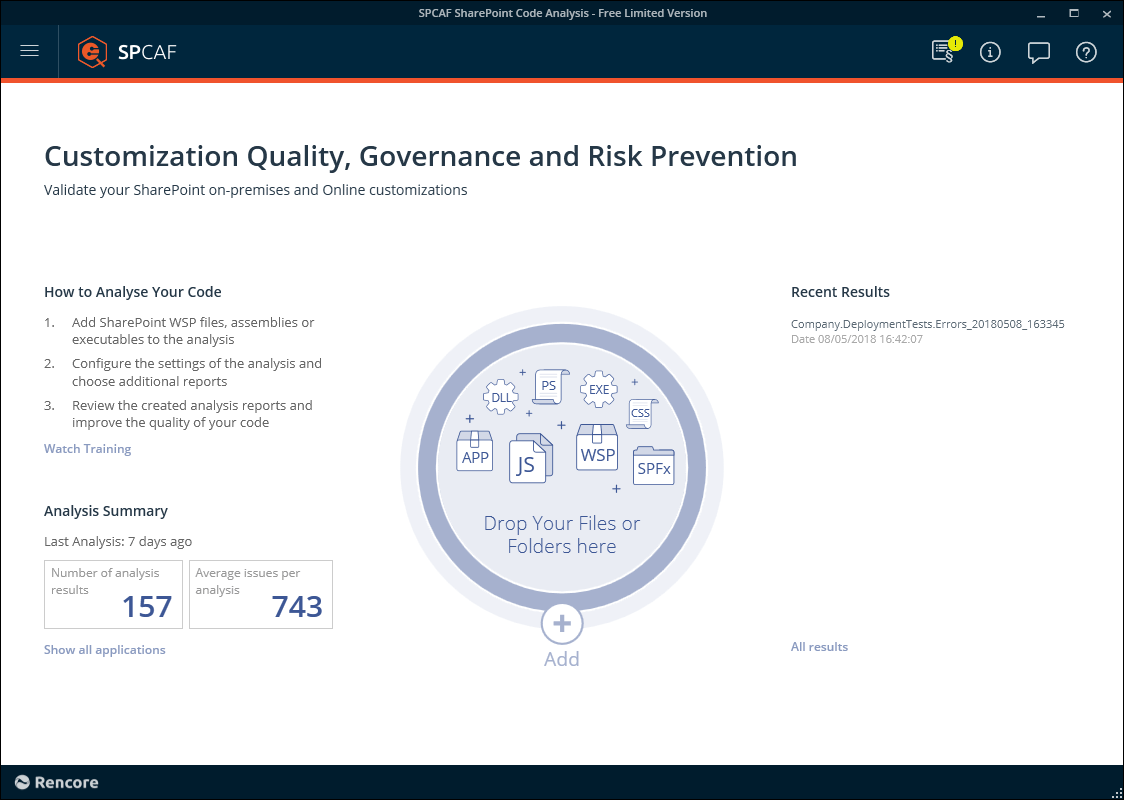
Start the SPCAF client application.
-
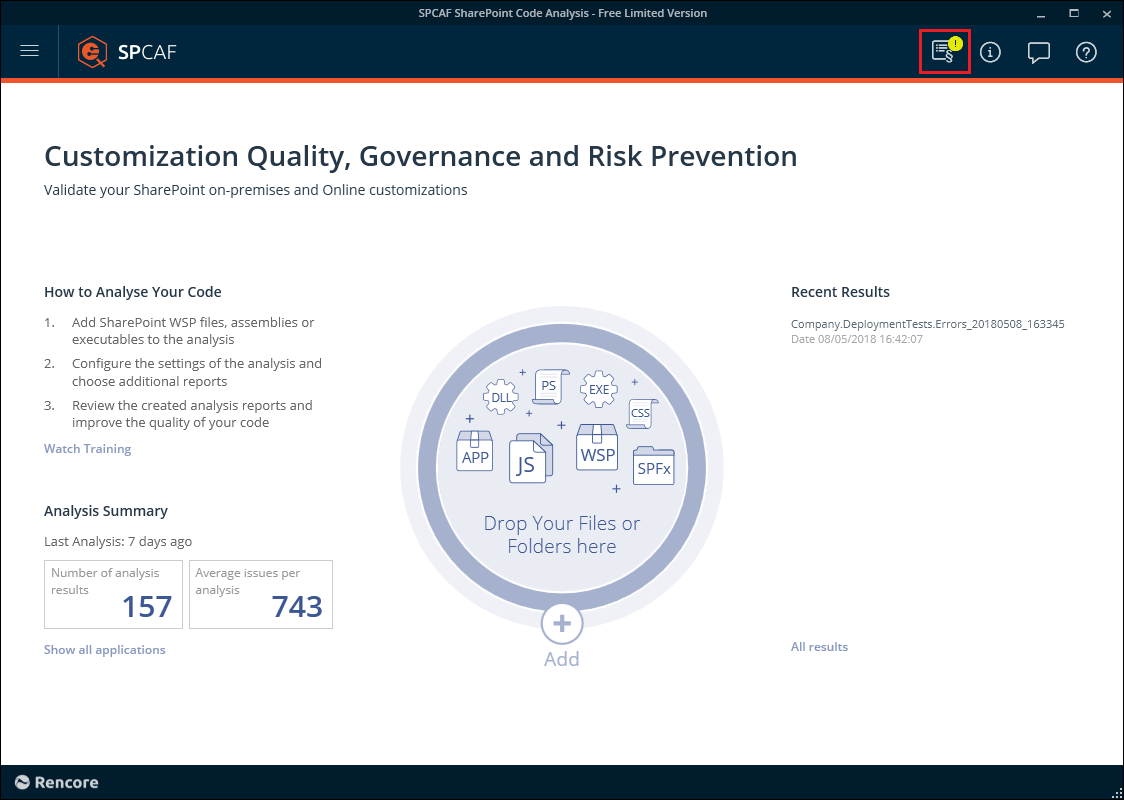
In the header of the application click on the “Manage Licenses” icon.
-
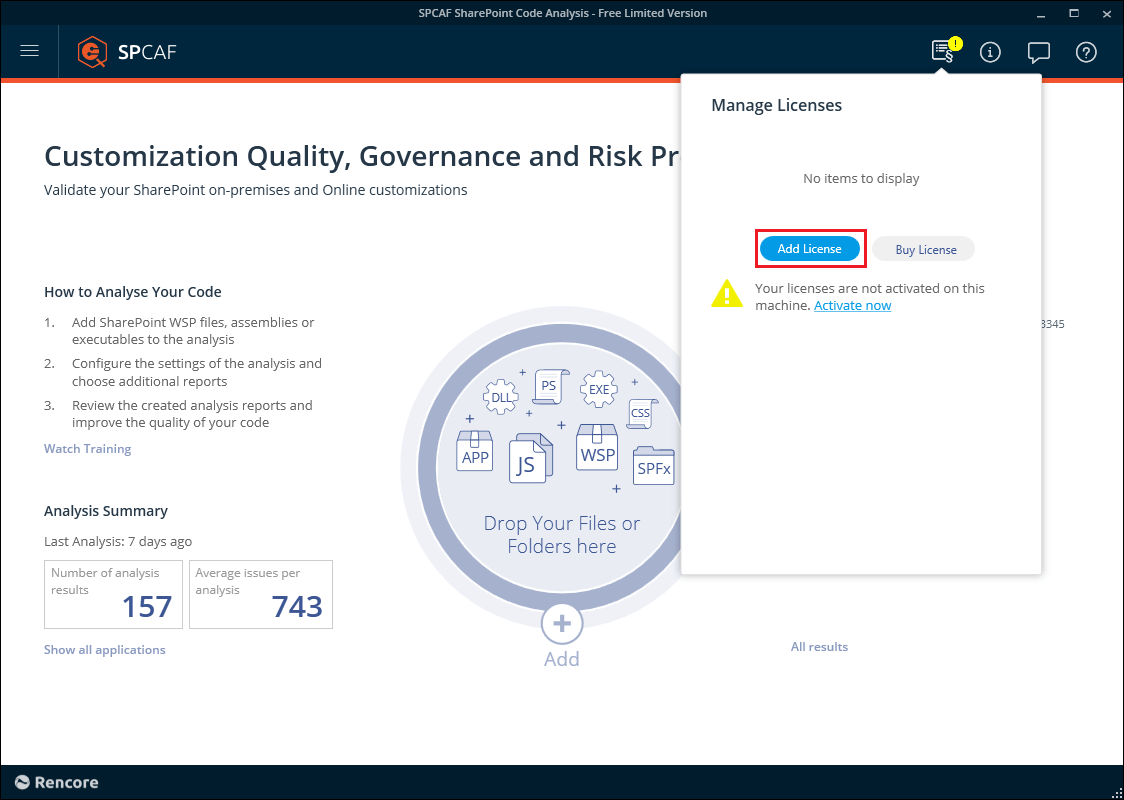
On the “Manage Licenses” page click the “Add” button.
-
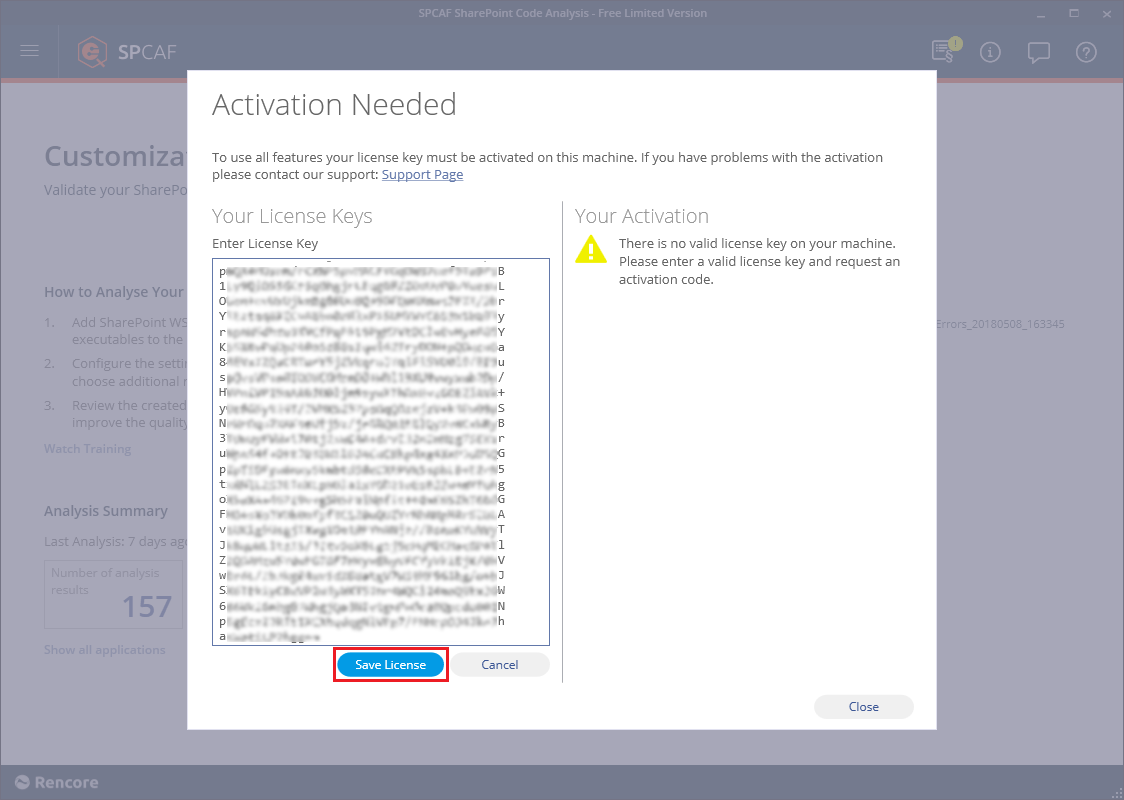
Paste your license key into the text field and click “Save”.
-
After the successful installation of the key, your license is displayed in the section “Manage licenses”.
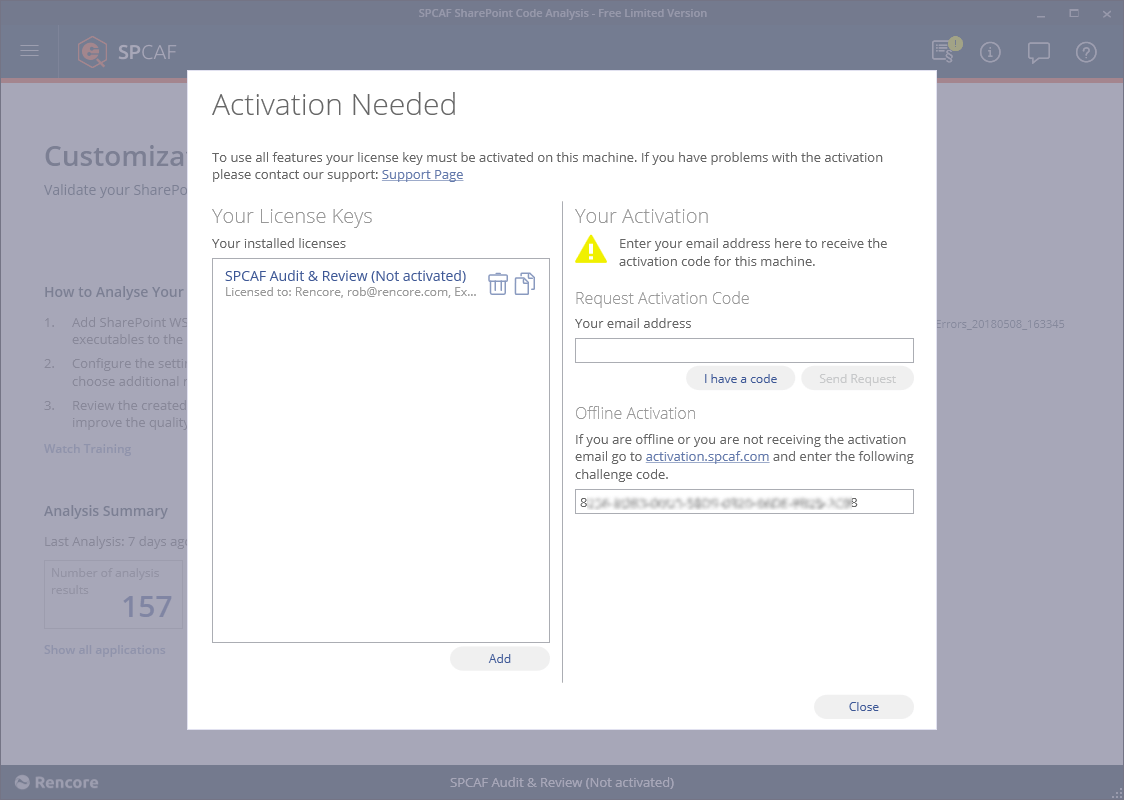
-
Now your license has been applied to SPCAF.
Install license key via Visual Studio
-
Start the Visual Studio IDE and open your SharePoint project for the analysis.
-
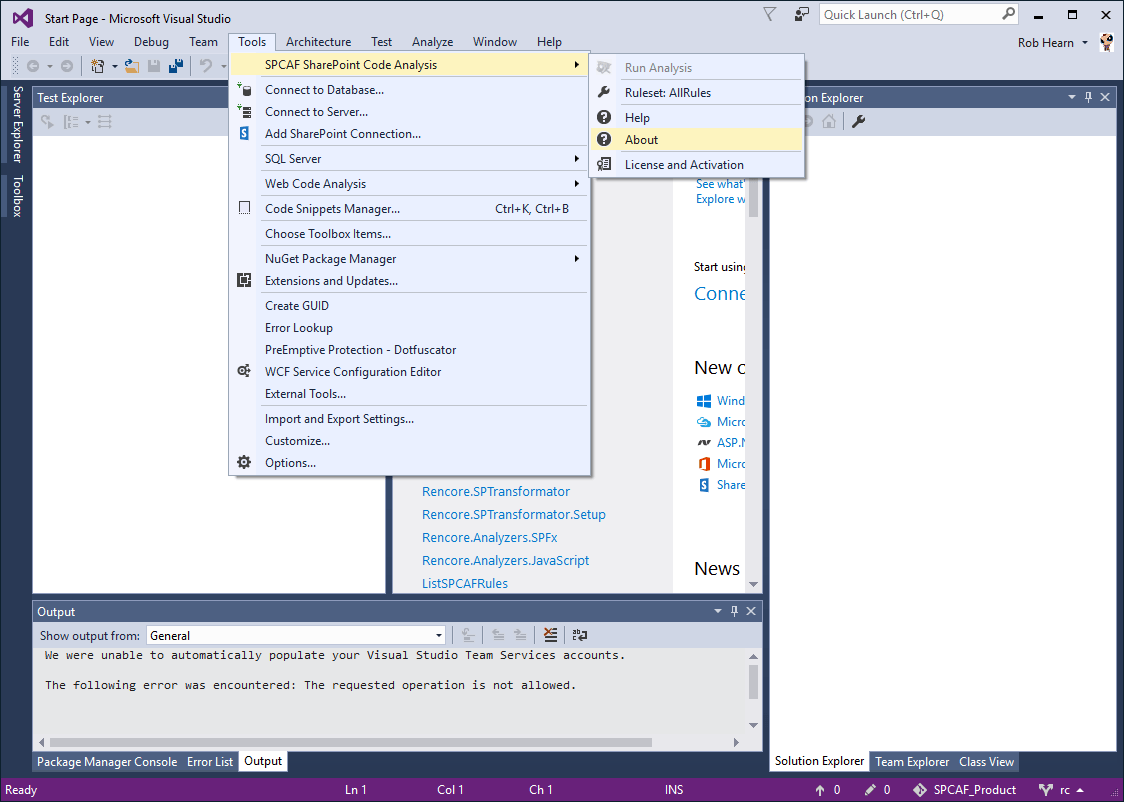
In the “Tools” menu click “SPCAF SharePoint Code Analysis” -> “About”.
-
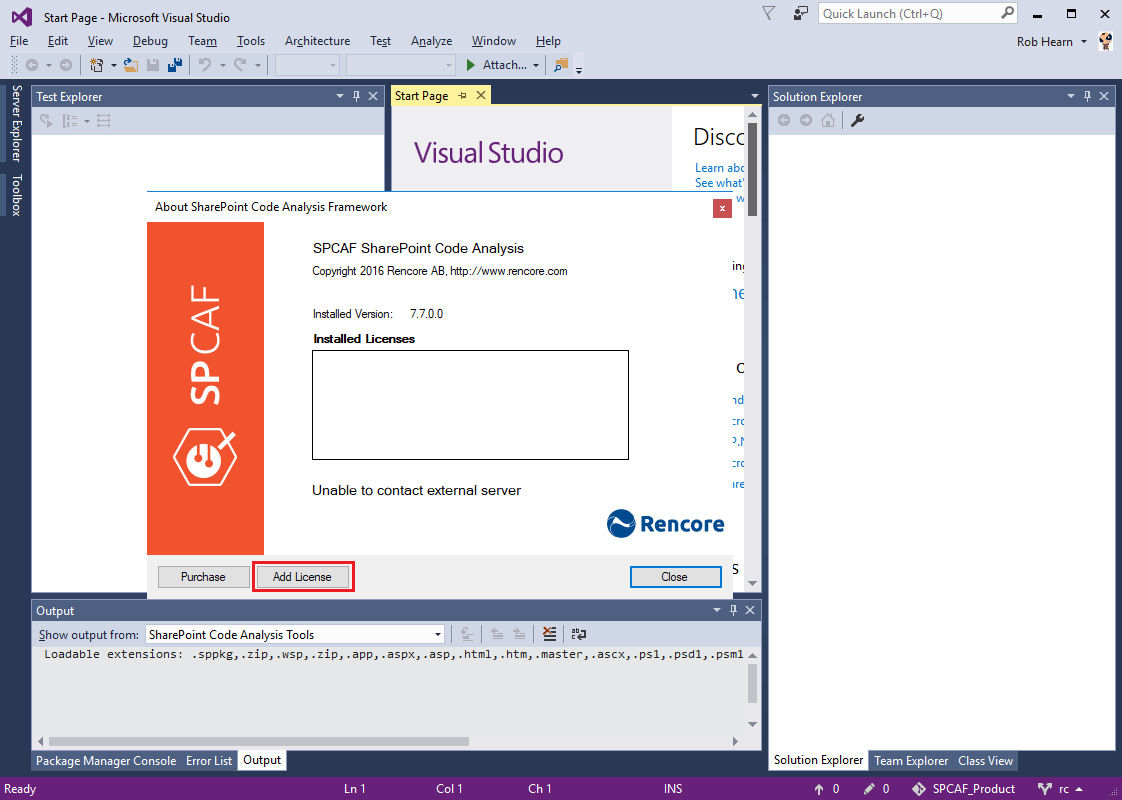
In the “About” dialog of SPCAF click “Add License”.
-
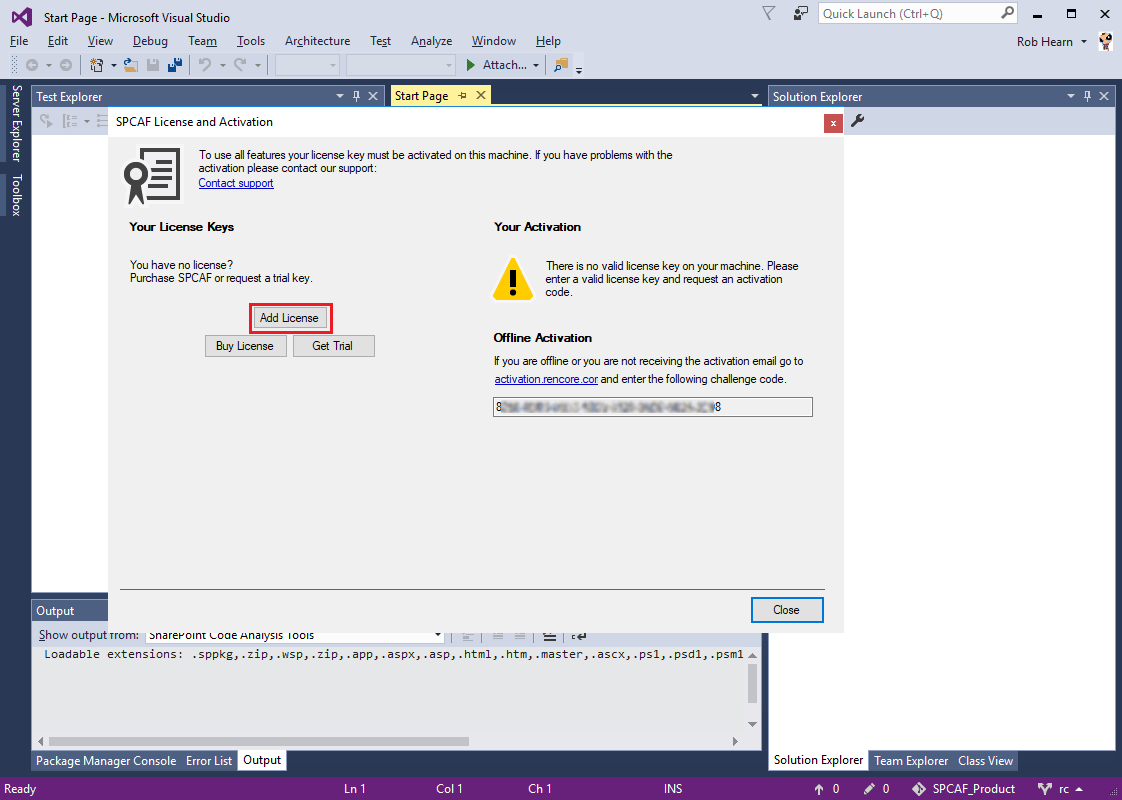
In the following screen click “Add License”.
-
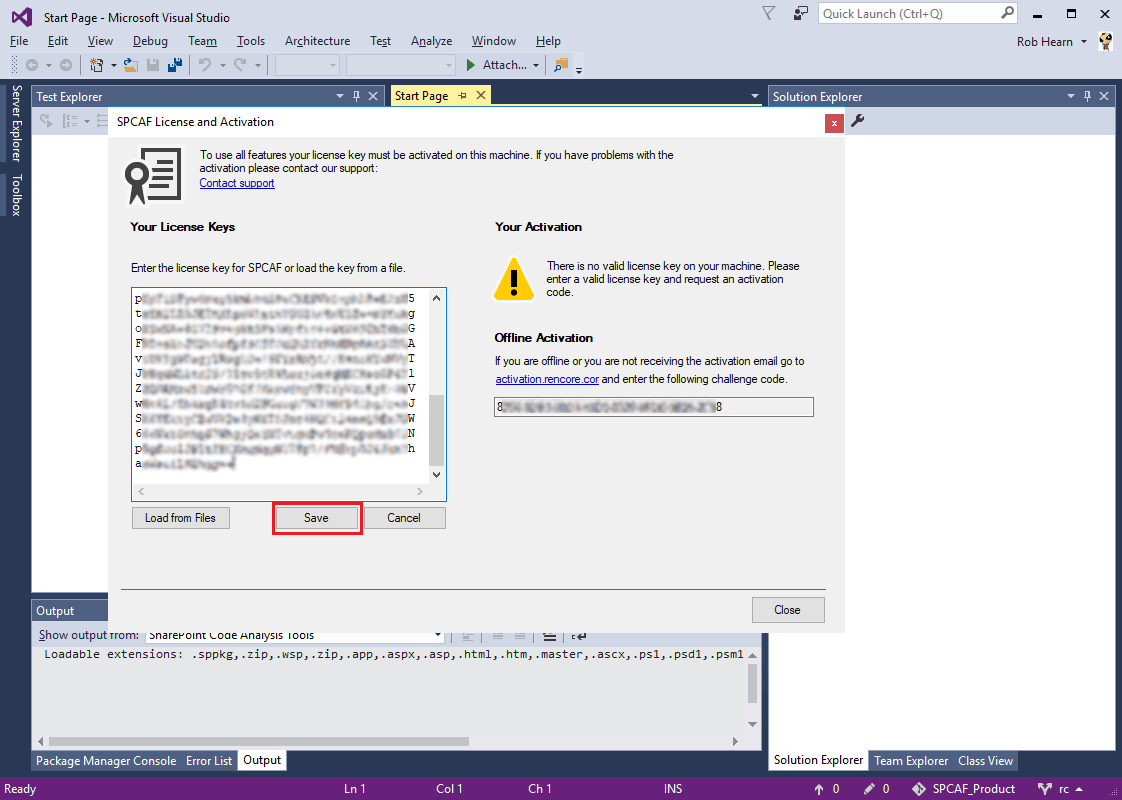
The “Enter SPCAF License” dialog will appear. Copy the license key from your email and paste it into the text field. Click “Save” to save the key to your computer.
-
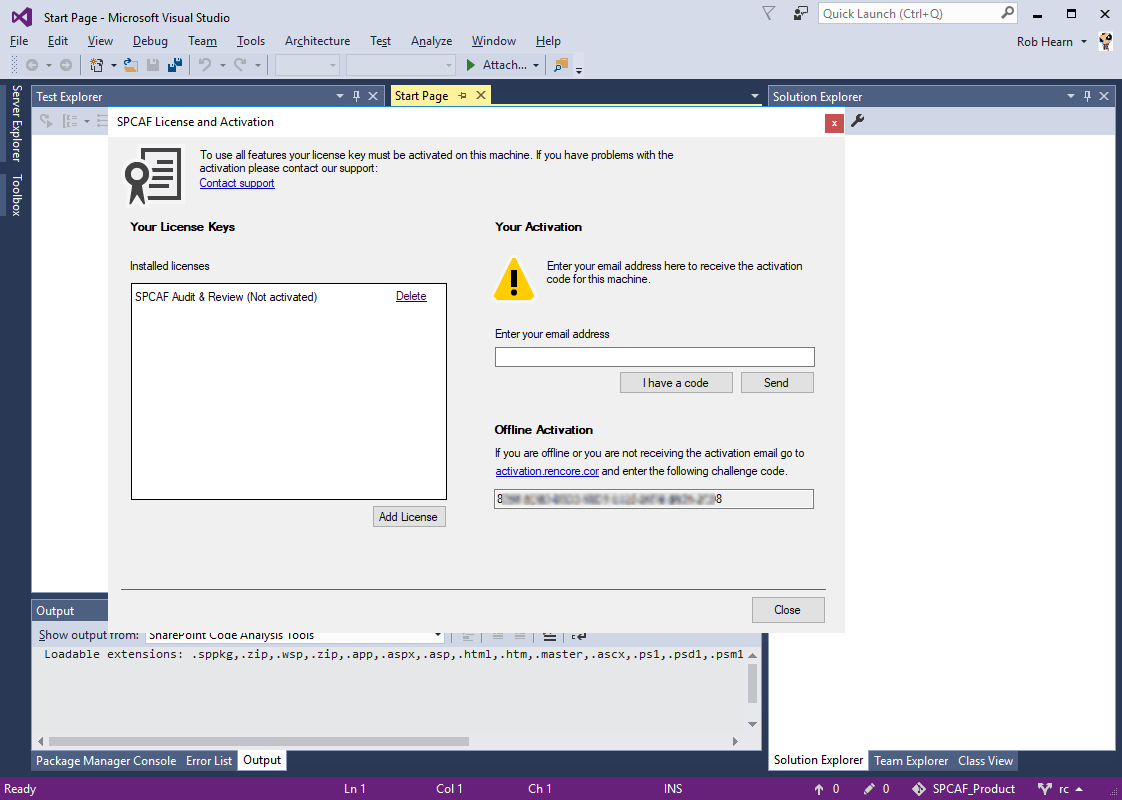
After successfully installing the key, your license will be displayed in the “Installed licenses” in the “About” dialog.
-
Now you can use SPCAF with your license.
Install the License manually in the file system (advanced users)
For client installations (SPCAF Developer and Professional) the license key will need to be installed in the local AppData folder of the current user (which is typically: “C:\Users\YourUserName]\AppData\Local\SPCAF”).
Windows stores the path to the local AppData folder in the environment variable ‘localappdata’. To find out the physical path you can open a command prompt and enter “cd %localappdata%” to navigate to that folder.
- Navigate in Windows Explorer to folder “C:\Users\[YourUserName]\AppData\Local\SPCAF”.
- Create a file with the extension “.lic” (e.g. “License.lic).
- Open the file in your preferred text editor (e.g. notepad) and paste your license key.
- Save the file. Now you can use SPCAF with your license.
Install license for SPCAF Build license
For server installations, the license key needs to be installed in the folder which contains the main executable “spcaf.exe”.
Install License in Team Foundation Server
-
Open TFS source control in Visual Studio.
-
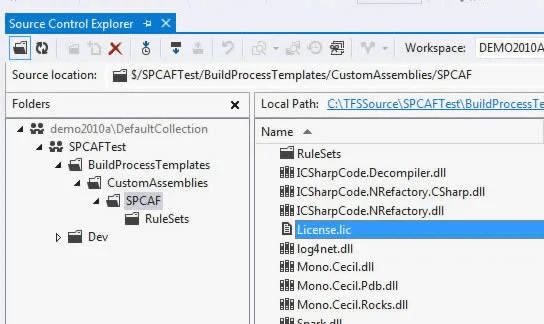
Navigate to the folder with the SPCAF executable files (e.g. “BuildProcessTemplates\CustomAssemblies\SPCAF”).
-
Create a file with the extension “.lic”, e.g. “License.lic”.
-
Open the file in your preferred text editor (e.g. notepad) and paste your license key.
-
Perform a check-in on the folder.
-
Now you can use SPCAF with your license.
Install the License for use in other build systems like TeamCity
- Navigate in Windows Explorer to the installation folder of SPCAF.
- Create a file with the extension “.lic_” (e.g. “License.lic).
- Open the file in your preferred text editor (e.g. notepad) and paste your license key.
- Save the file. Now you can use SPCAF with your license.